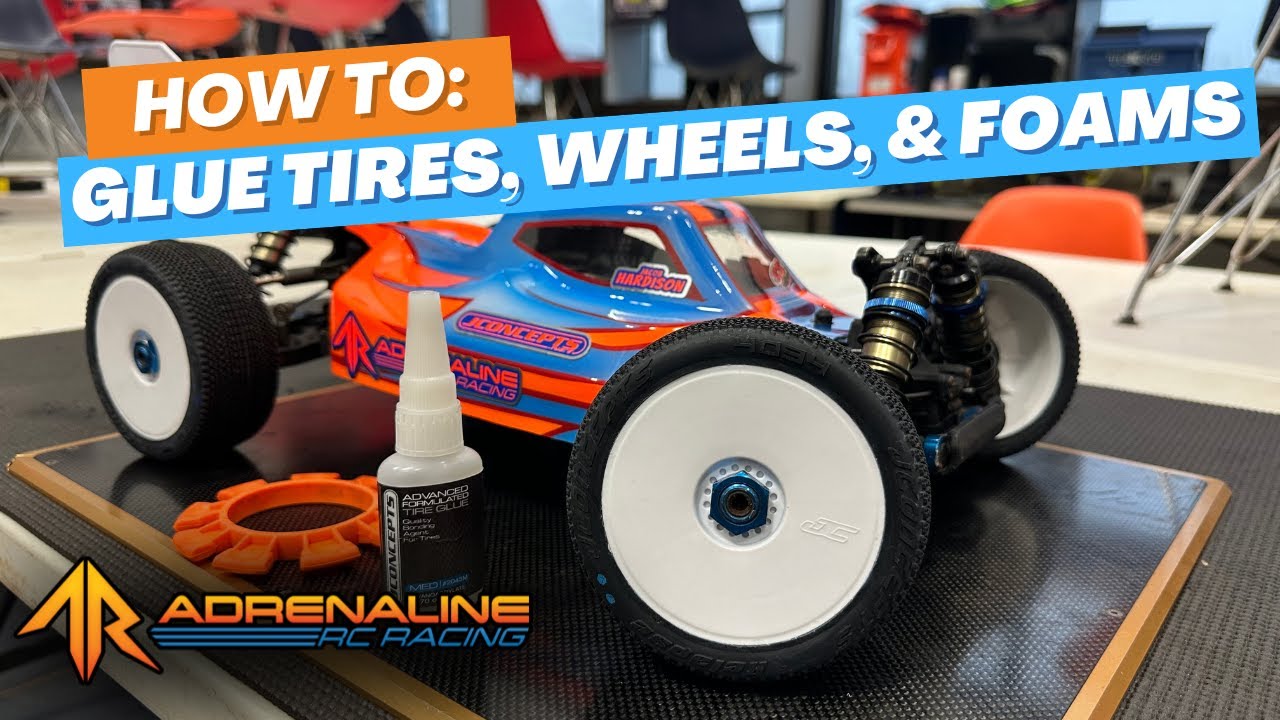
If you’ve ever lost a tire mid-race or struggled to get a clean glue job, this one’s for you.
In our latest Adrenaline RC YouTube video, Jacob Hardison walks you step-by-step through the complete process of gluing your 1/8 off-road buggy or truggy tires, wheels, and foam inserts.
🔧 What You’ll Need:
-
Foam Inserts
-
Simple Green & Microfiber Cloth
To clean off release mold for better bonding. -
Tire Punch (3mm)
For venting air and preventing ballooning. -
Tire Bands
To hold the bead tight while glue cures. -
CA Glue (Medium or Thin)
Jacob prefers the medium option for better control. -
Glue Tips
For precision and reduced mess.
🔄 The Step-by-Step Process:
1. Clean Your Tires
Spray Simple Green onto a microfiber cloth and scrub both tire beads thoroughly. This removes the release mold and ensures your glue bonds correctly. Don’t skip this step—it’s one of the most common causes of tires coming loose!
2. Punch Vent Holes
Using a 3mm punch, add two holes 180° apart for buggy tires, or four holes for truggy tires. Jacob prefers placing these on the inside sidewall to reduce stress and water exposure.
3. Glue the Foam (Optional)
In some cases—like softer tires or specific tuning needs—you may want to glue the foam to the wheel. This can add stability, especially in high-grip or high-speed conditions. Though Jacob doesn’t glue the foam in this video, he breaks down exactly how and when to do it if needed.
4. Mount the Tire
Line up the foam and seat the tire around the wheel. Make sure it’s fully and evenly seated on both sides before you move on.
5. Apply Glue (Front Bead)
Peel back the tire bead, insert the glue tip, and run a small bead of glue along the wheel lip. Let the tire bead lay back down and smooth it out. Use the tire band to hold pressure.
Pro Tip: Don’t worry about a little excess glue. Function > form.
6. Clean Up Excess
Dab or swipe with a microfiber cloth, but beware of the smoke—the glue and cloth can react! Avoid breathing it in.
7. Repeat on the Back Bead
Same process, but Jacob shows a slightly different method for wiping glue clean.
⚠️ Final Tips:
-
Let the tire sit for 15+ minutes before running.
-
Keep the tire bands on just long enough—too long can cause rippling or uneven compression.
-
Excess yellow glue? That likely means leftover release mold. Clean better next time, but it’s not the end of the world.
🎥 Watch the Full Tutorial
This video is part of our ongoing effort to upgrade and re-record our older how-to videos with better visuals, clearer instruction, and a few new tricks thrown in. Stay tuned—more are coming soon.
Have questions or want to request the next video? Drop a comment or shoot us a message!
Thanks for reading—and we’ll see you at the track. 🏁

